How To Make A Custom Image Object Detection Model (The Easy Way)

Disclaimer: I am no Machine Learning, Deep Learning, and/or Artificial Intelligence Expert. I take no responsibility if you end up making SkyNet. You’ve been warned!
Recently, I started tinkering with machine learning via ML.NET, Microsofts new library for ML type tasks. It’s really nice and I’m super excited about its future. But with it being so new, it is currently not able to help me train a model that will detect objects in images. They have a great tutorial using a pre-trained TinyYOLOv2 model. But no custom models. Thus I set up going through ways to make my own.
The most promising method was to use Python to retrain the TinyYOLOv2 model with my image set. Only one issue. I don’t really know Python. Sure I could have hacked my way through it, but at the end of the day, I prefer my C# and .NET world. so I kept looking. Finally, I found the best solution for me.
Let me introduce you to custom vision, this is a service run by Microsoft that allows you to… you guessed it, make your own custom object detection models. Yay! 🎉 Exactly what I need and better yet, you can train, test and utilize your model all within this service. Once you’re done training and validating you can publish your model and use their REST API to perform predictions, all without having to really worry about anything yourself. If you don’t want to use their API, like me, you can just download your model in the desired format you wish with C# and Python generated code ready for consumption. How awesome is that?!
“Okay yeah sure that sounds amazing, but what’s the catch?” - Probably you
Okay so there is one catch, it costs money. roughly $3 for a quick training session, $2 per 1000 transaction and $20 an hour to train. But for what you’re getting I’d argue very much worth the cost. Check out their pricing here
So let’s walk through how to use the service.
- Go to https://customvision.ai
- Login with an Azure account
- if you don’t have a Microsoft account then you’ll need to make one here
- Click “New Project”
- Fill out the Name, Description and resource
- if you need to make a new resource, just follow the onscreen prompts.
- you can view these resources inside of the Azure Portal
- Select the project type you’d like -For me, it was “Object Detection”
- Select Desired Classification Types
- Tag would be object
- Select Domain, I picked General (compact)
- Wait for everything to be created
- Start making your datasets!

You’re all set to go and it’s really that easy.
I recommend doing a quick train once you have 15 photos marked of each classification or object tag you want to work with. This is a short session that gives you a really rough idea about your model’s performance. Also, it’s a good way to generate code up to start scaffolding your project if other people are wanting to play around with the model.

From my limited internet reading, I’ve seen a recommendation of about 300 photos per classification you want to detect. which is a lot of photos. More data never hurts in these cases!
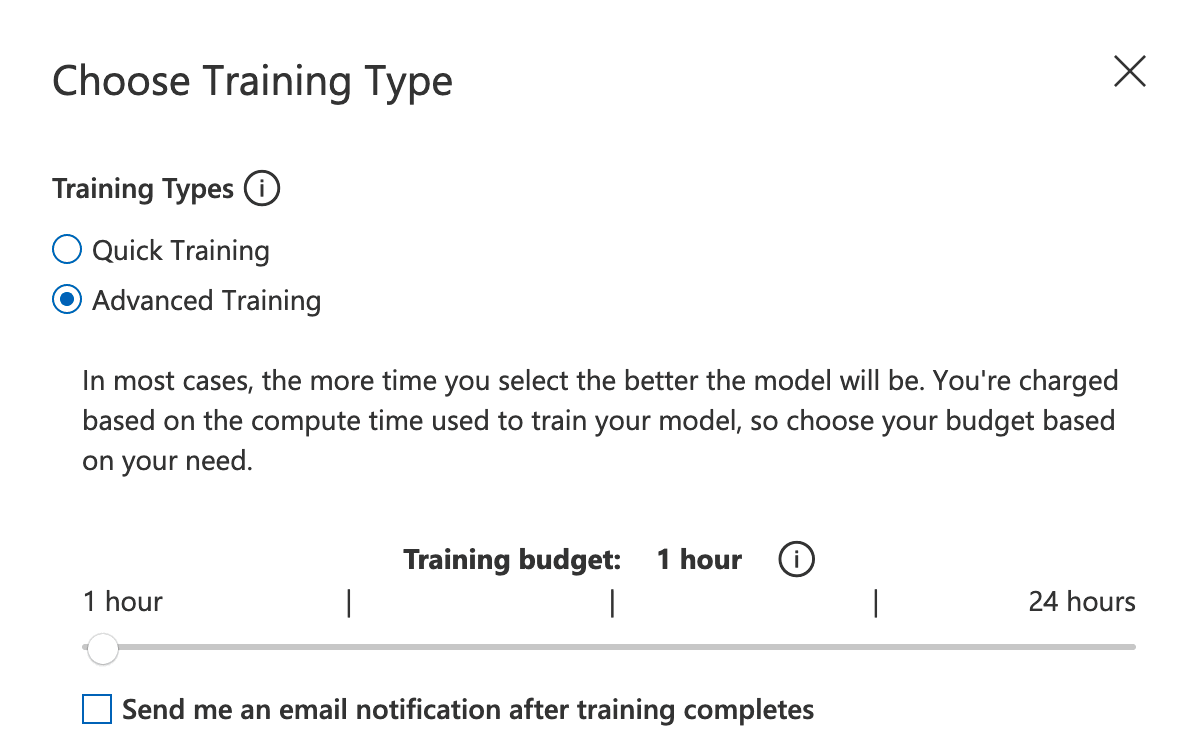
When you’re ready you can do a full training session and limit the amount of training time. This is under Advance Training option
When you’re done training either via quick training or advance training you can export your training model via the “export” button. You’ll receive a prompt to select the type of model and the format. I did General Compact and ONNX as that’s what’s preferred for ML.NET. But select what’s best for you use cases.

Hopefully this helps out some people who were in the similar situation as me. I hope to be doing more machine learning content in the future. Have a great day 😃!